


If you are looking for an easy guide on how to carve a pumpkin here is my version put together as I carved my first pumpkin yesterday!
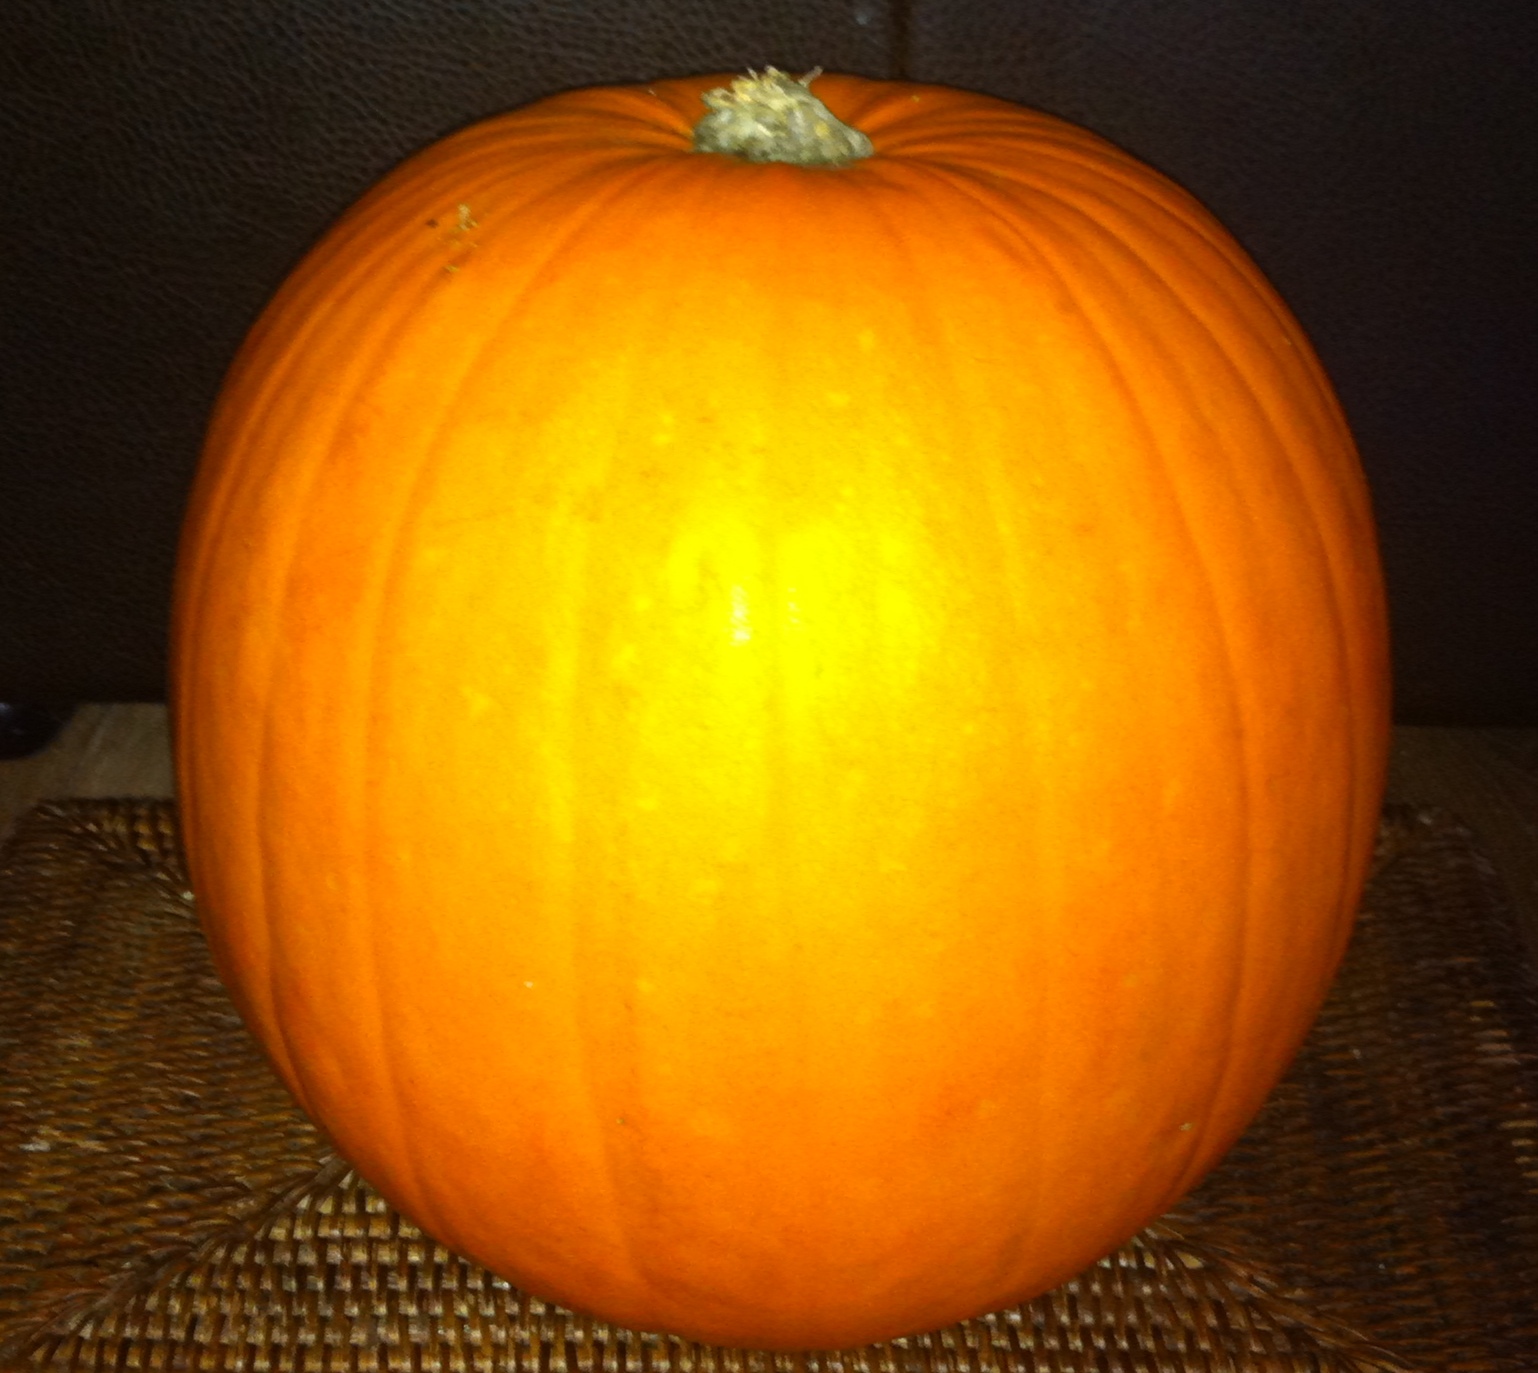
1. Select your pumpkin
My advice is to get the biggest one you can find as you can make the features bigger and hence easier to carve! Our one was a “giant” pumpkin and I got it in our local supermarket for 3 euro a couple of weeks before Halloween and kept it in the garage to keep it cool and fresh.
2. Find an appropriate knife
When you get into the nitty gritty and the rounded edges you will yearn for one of the pumpkin carving kits you scoffed at in the supermarket. Regardless, in order to be able to actually carve your pumpkin you are going to need a sharp serrated edge knife with a pointed tip. A lot of the work involves a sawing-like motion so a pointy bread knife is probably your best bet. Anything with a blade that is too long will be hard to control when you start to carve your pumpkin.
3. Set up a spacious work area
In an ideal environment you would not have the three enthusiastic little “helpers” that I had alongside me only dying to get their hands into the gooey insides. You will need space though so plan ahead and no harm to put a bit of newspaper under the pumpkin before you start to carve and to have a bowl alongside you to put all the insides into.
4. Cut a lid

My problem was trying to figure out which end was which to be honest and if truth be told, I think I may have done mine upside-down! No need for this to be round. Pick an easier shape with straight edges (you will appreciate this advice when you get started). Remember you need to keep this lid to be used when you are finished so try and keep it intact.
5. Remove the filling
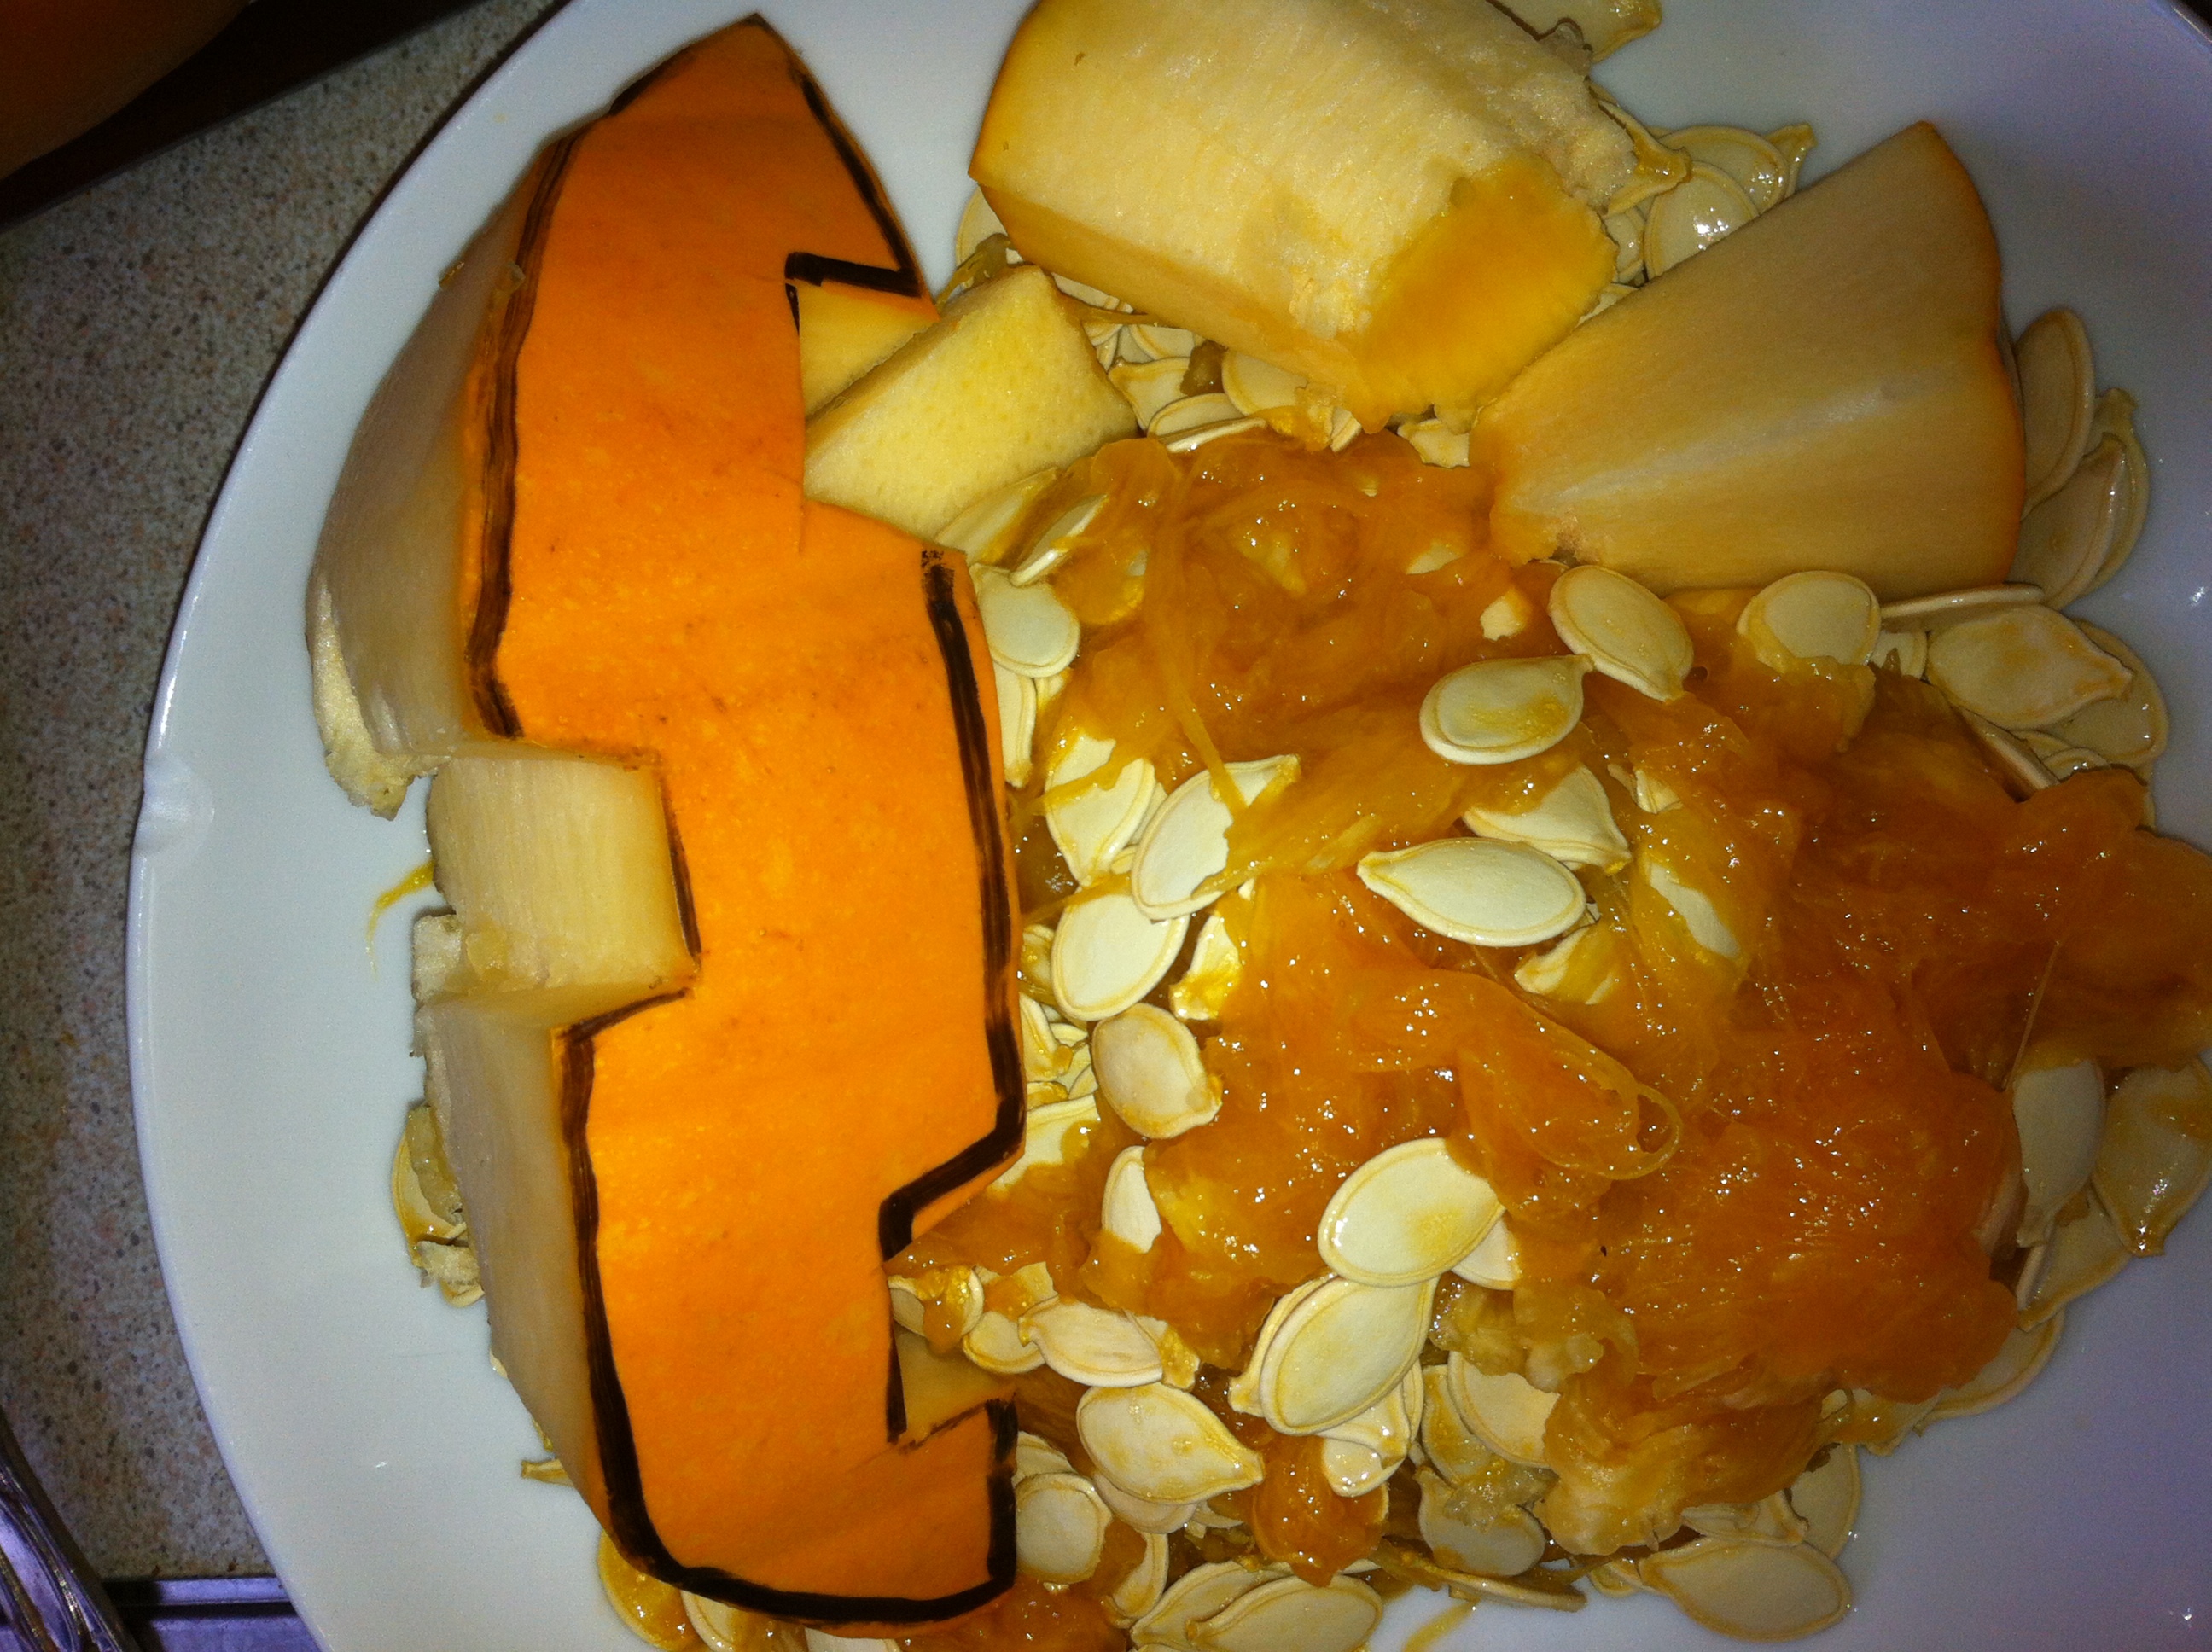
Who knew there was so much “stuff” inside a pumpkin and the seeds are slippery little things so despite all your efforts with every kitchen implement, in the end you are going to have to go in with your bare hands and start scooping. All the online guides recommend keeping the seeds as a healthy and nutritious snack but to be honest by the time I had them all out of the pumpkin I just didn’t have the energy to go sifting through all the goo and isolating the seeds!
6. Level the bottom if necessary
Refer to point 3 – I am still not sure which was the bottom of our pumpkin so I just chose the flatter side as the bottom to make life easier but they do recommend that you thinly and carefully carve off some of the bottom to make the pumpkin stand on its own.
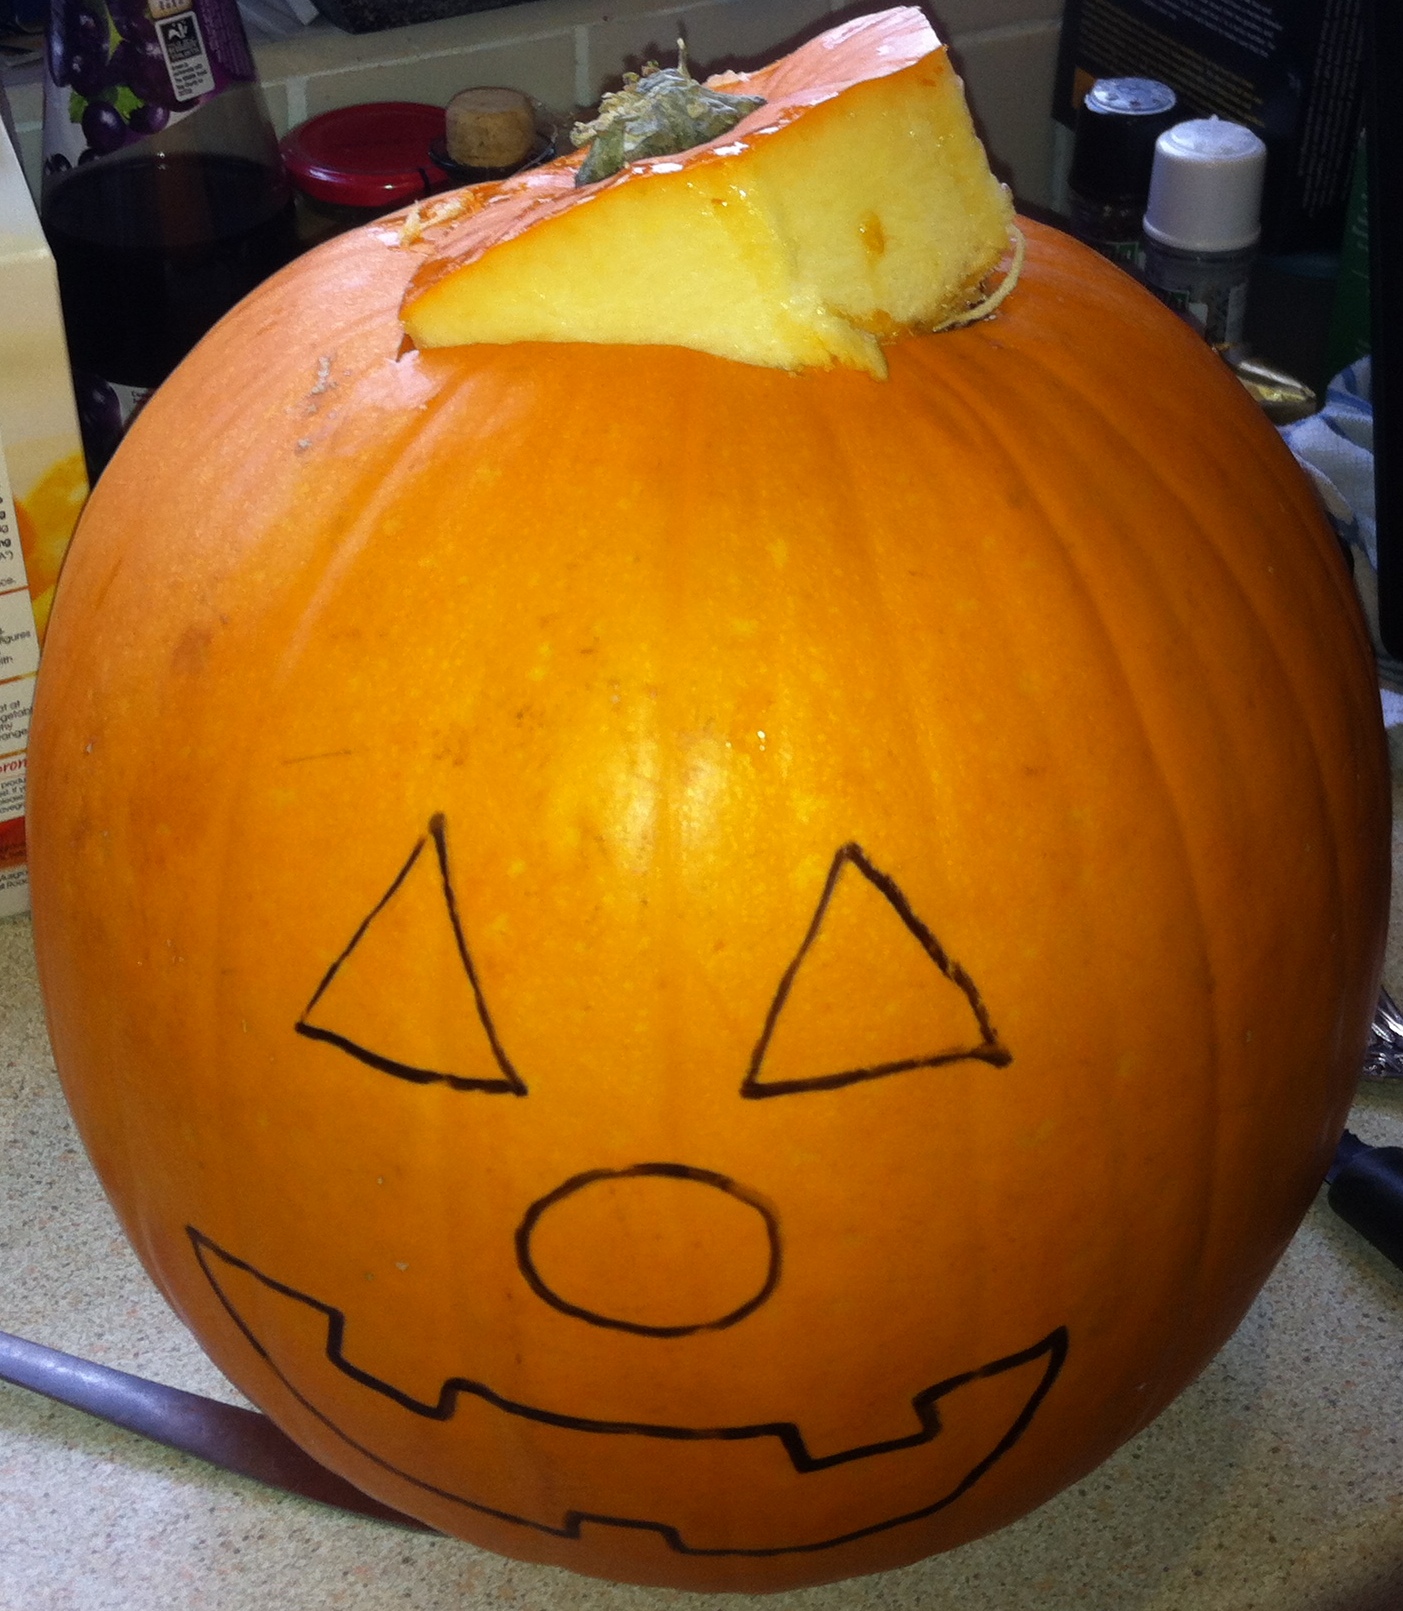
7. Draft your design in permanent marker
Be careful here though not to be too ambitious as the eyebrows I planned on cutting out were a step too far for me so now our pumpkin has thick black marker eyebrows despite my very best efforts to remove them! I recommend keeping it simple with as many straight edges as possible – round shapes are difficult to do with a regular knife so you have been warned!
8. Start carving your design
I refer back to point 1 – maybe it would be worth investing in one of those kits for next year! Once you get started this gets easier but as I said, keep it simple the first time! Make sure you carve right through your pumpkin so you can push the shapes outwards as you carve them. This is when you will be glad of a good sharp knife.
9. Preserving your Pumpkin
I had heard that it might be possible to preserve the life of your pumpkin once carved and so I went online to read up on the various methods including bleach and Vaseline but then I came across a great science experiment carried out on all the various methods which deduced in its findings that the “control” pumpkin i.e. that to which they did nothing – lasted longer than most of the preservation methods so that gave me the justification to do nothing!!
10. Light it up
Put in a couple of nightlights/ tealights and turn down the lights
11. Admire
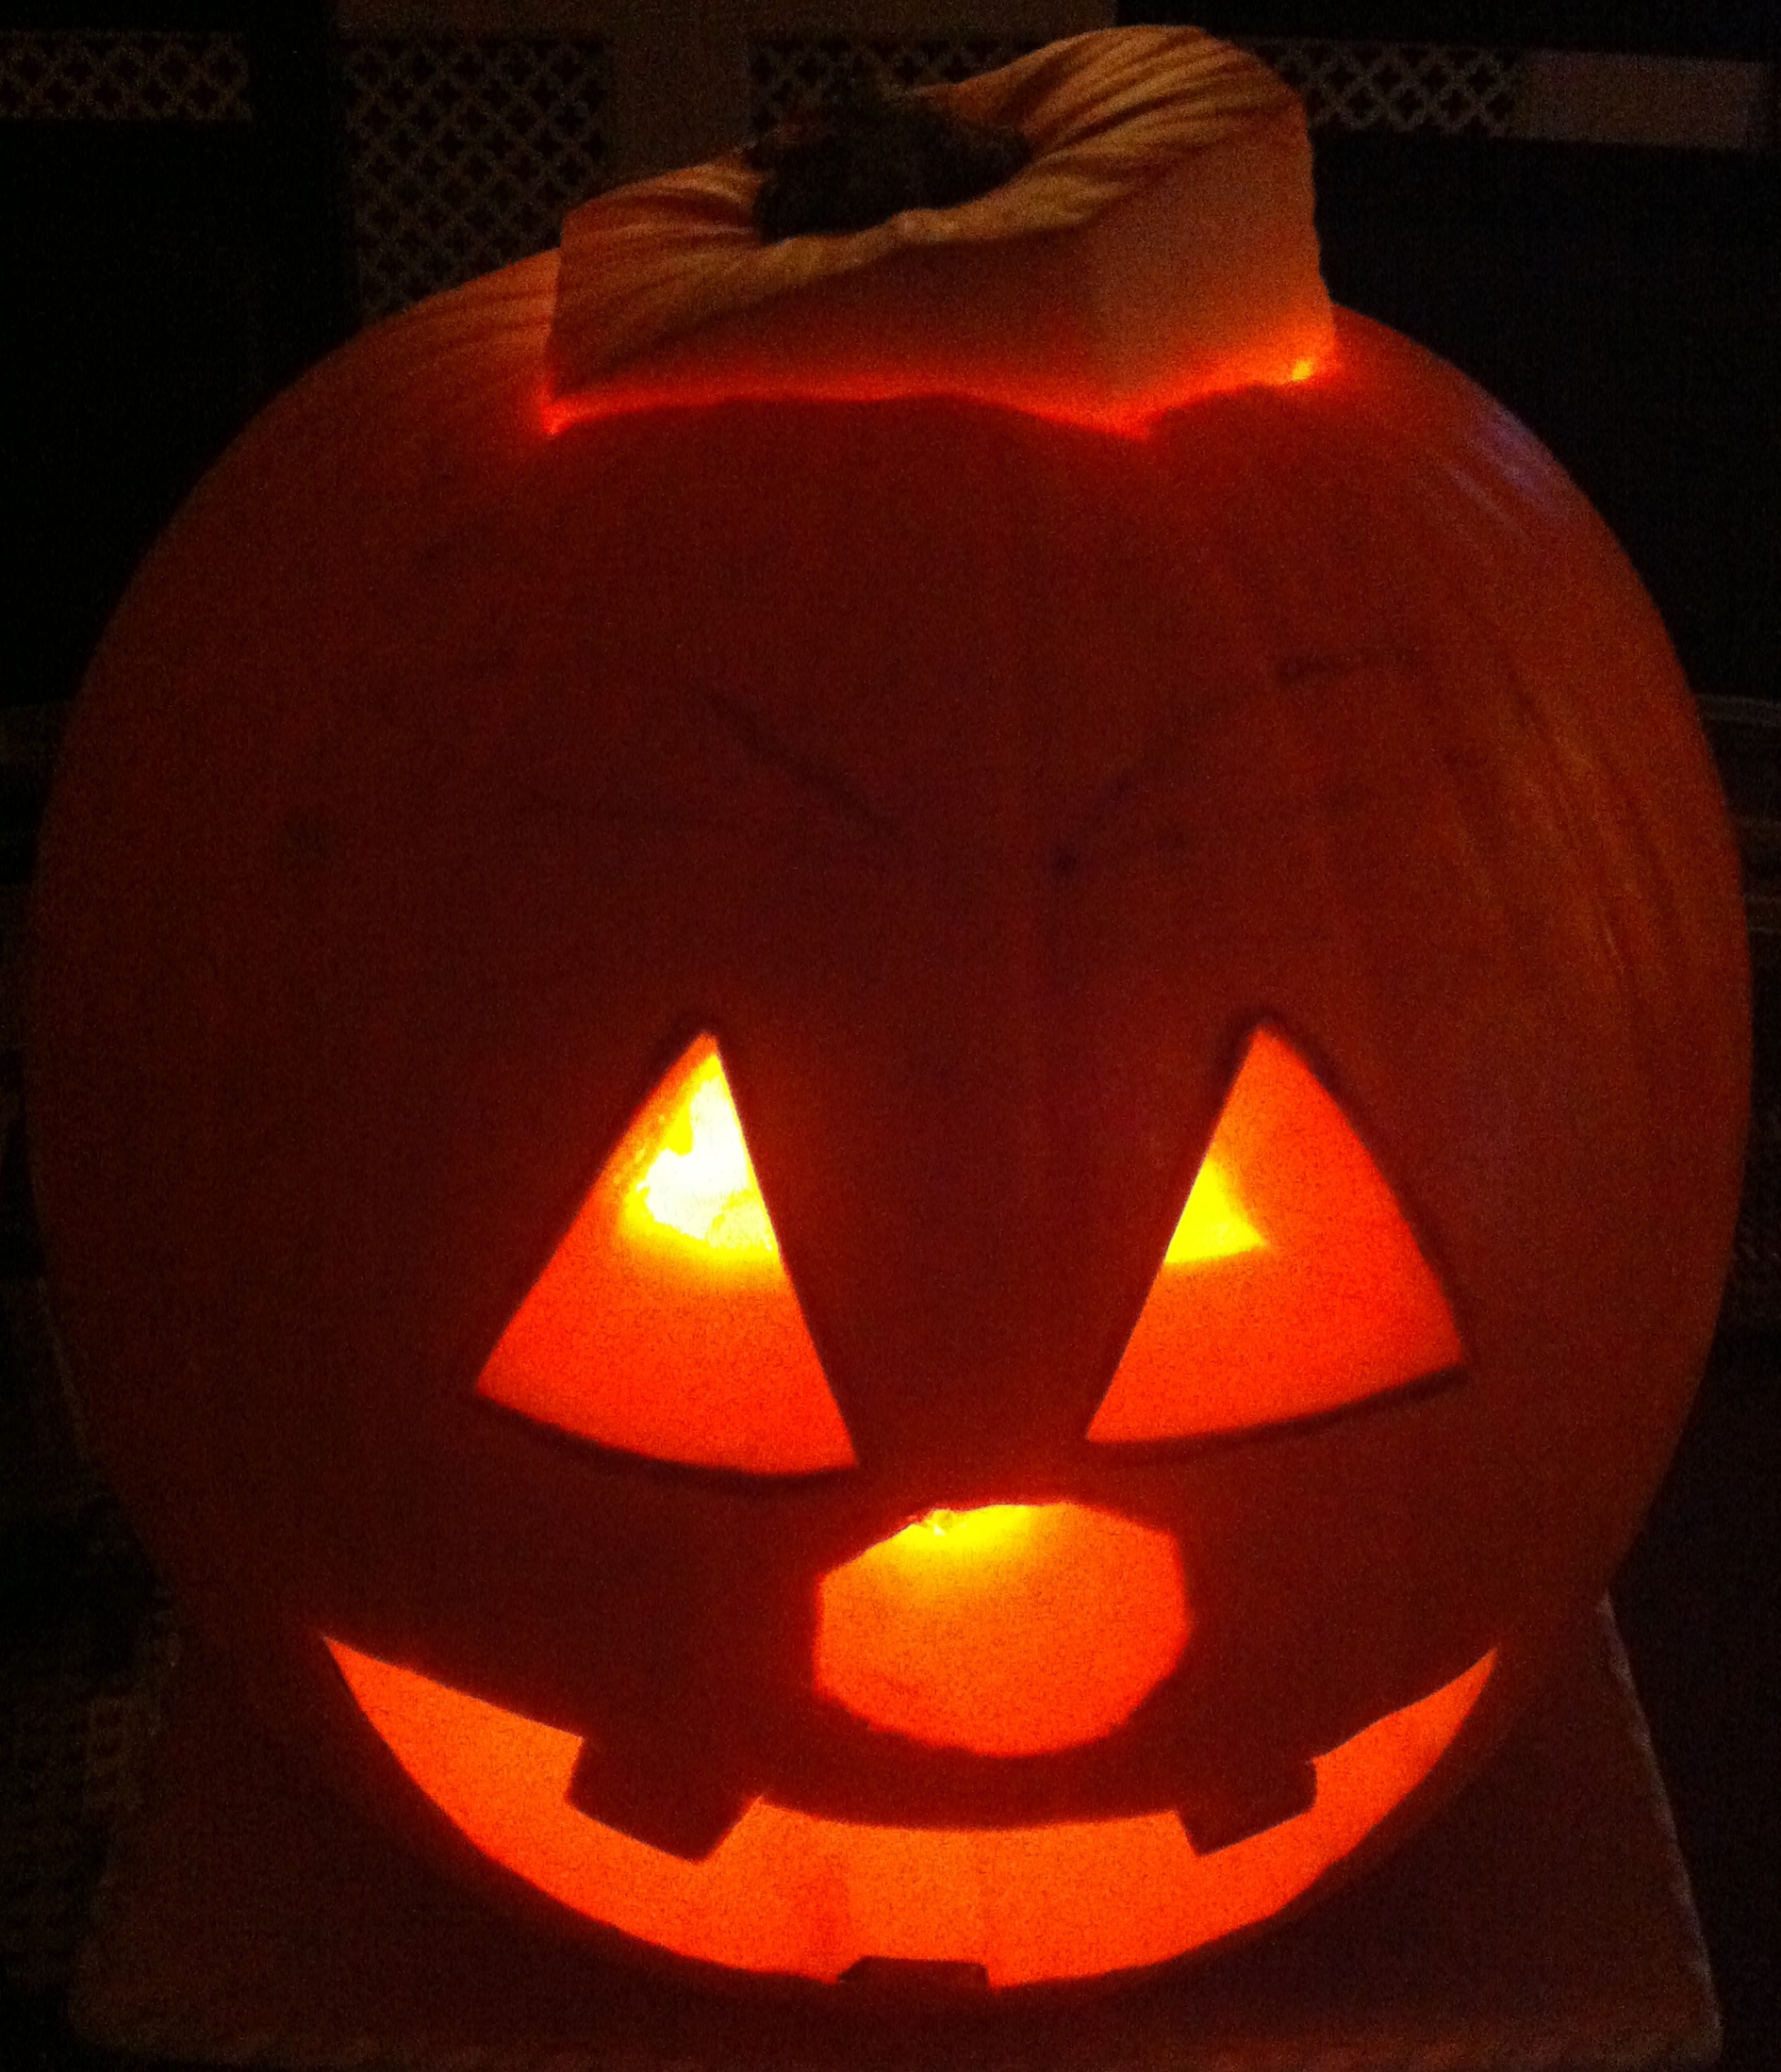
Stand back and admire your handiwork
p.s. we had a Step 12 in our house. In order to persuade our slightly wary 4 year old that this was not some ghoulish scary monster thing we had to name our pumpkin and so “Penelope the Pumpkin” is now part of our household for Halloween Week!
HAPPY HALLOWEEN!!!
SOURCES
I got my instructions on How to Carve a Pumpkin from Wikipedia and found them relatively straightforward and easy to follow: Carve a Pumpkin.
The science experiment to which I referred can be found here: Preserving a Pumpkin